How myledy produce LED Strip lights?
We Focus On Every Details
LED light strips come in many different shapes, styles, and colors. An LED light strip consists of several individual’s LED emitters attached to the PCB. The strip has a built-in circuit board, which is very flexible and requires a very low DC power voltage to light up. Hence, LED lighting production requires high precision, but many manufacturers make their lights on basic assembly lines. We strictly regulate and monitor all processing steps in our manufacturing system. We also have a full set of equipment designated for production and quality control.
Before we get into the production process, let’s know about the features of LED strip light first.
Characteristics of LED Lights Strips
- Consist of many LEDs on a narrow and flexible PCB
- Available in various single colors or changeable colors.
- Working on 12V/24V DC power.
- Standard 5m reels and can be cut to different lengths.
- They can be waterproof and dust resistant.
- Flexible, can bend vertically up to 90-degree
This page will give you a general idea of Myledy’s LED strip lighting production. If you’d like to learn more, then please contact us to request a tour of our facilities.
- We control the complete production process.
- Extremely strict quality control system at Myledy.
Myledy production process
Step 1. Design and Manufacture of LED (Light Emitting Diode) Package
The first step of manufacturing LED tape light is to design an LED package that encapsulates an LED chip in it. The package shields LED chips from weather damages, contaminants, and corrosion.
It allows LED chips to mount electrically and thermally with PCBs. Following are the steps you need to follow for manufacturing an LED Package:
1.1
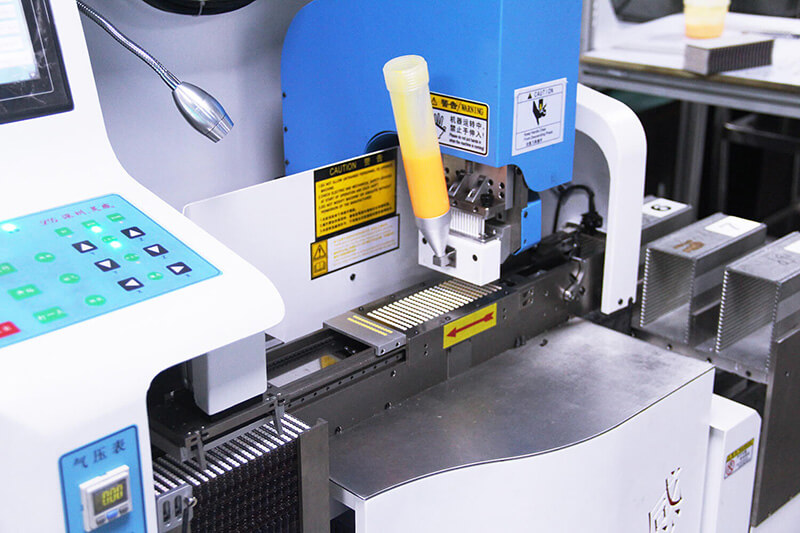
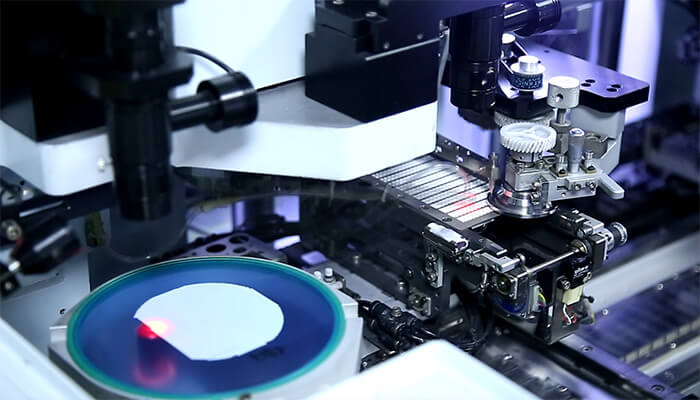
1.1 Die Bonding
First, the LED package goes through die bonding. The die-bonding method is commonly used for joining the LED chip to the contact pad in the package. A round wafer coat creates a semiconductor, which is then sliced further into small rectangular shapes.
1.2
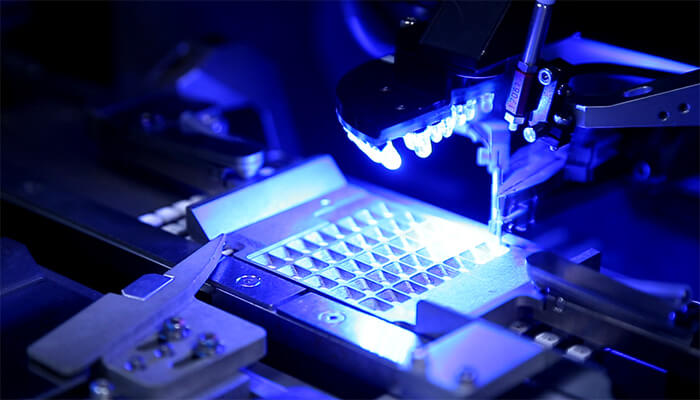
1.2 Wire Bonding
The LED package then goes through wire bonding that uses gold wires to bond the LED die and lead frame’s electrodes. Gold wires ensure better strength, higher conductivity, and excellent rust resistance. For wire bonding, you need to invest in expensive equipment and spend time on the complicated process.
1.3
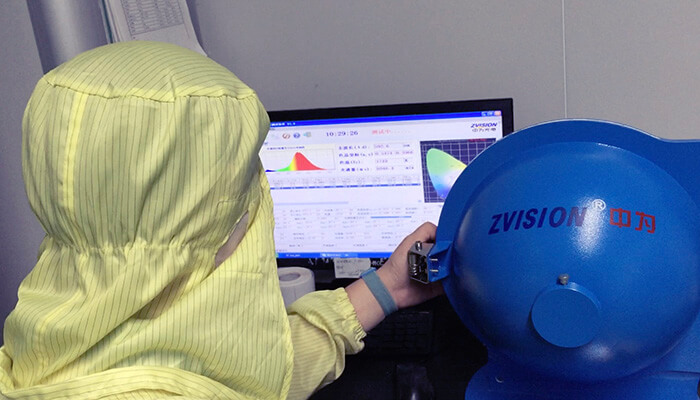
1.3 Integrating-Sphere Spectral Measurement
To measure the luminous flux of LEDs, manufacturers use a sphere spectral measurement device. They can give accurate and precise results for all spectral parameters specified in production requirements.
1.4
1.4 Phosphor Coating And Encapsulation
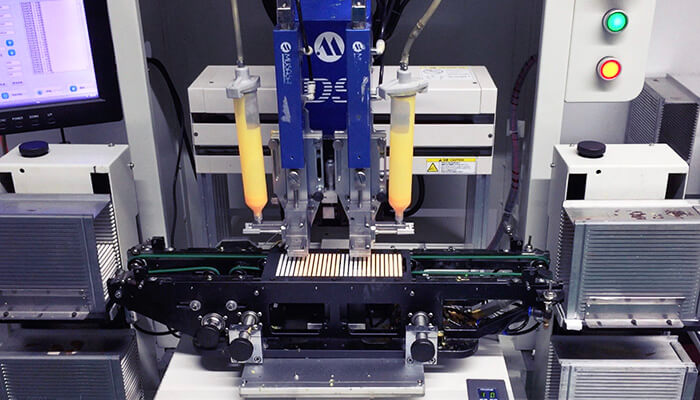
Next, the LED package goes through a phosphor coating to achieve different light color temperatures. And encapsulation to prevent mechanical or UV damage on the LEDs.
1.5
1.5 Baking
Next, the LED goes in an oven at 80 ºC (±5 ºC) with a relative humidity of 10% for two hours to seal the LED’s protective layer. After that, heat it to 150 ºC to stabilize and shape the package.
1.6
1.6 LED Sorting
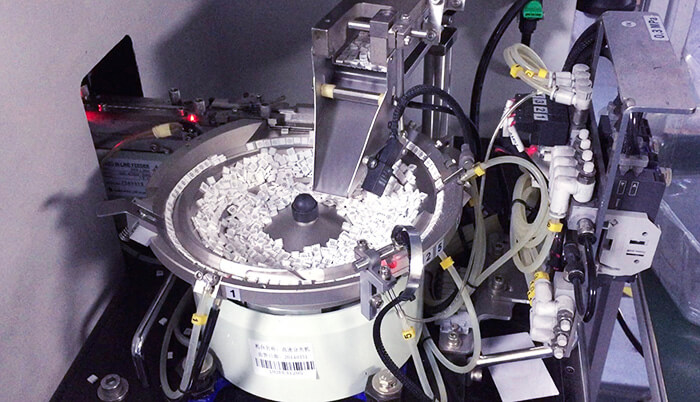
After coating and baking, the LED package goes through an LED sorting machine that sorts them into different bins based on light quality.
1.7
1.7 Moisture Proof Packing
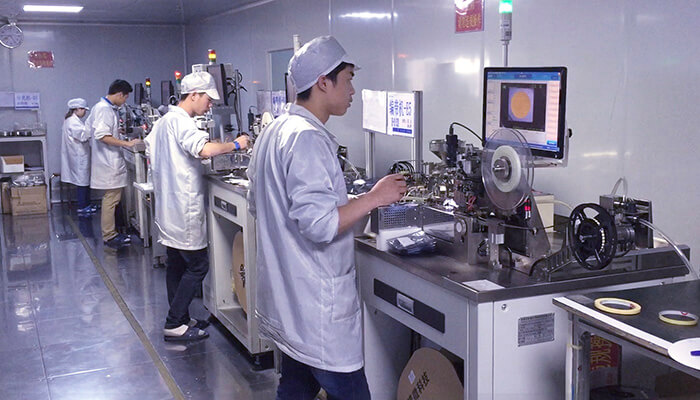
Moisture Proof packaging prevents any moisture absorption during the production, transportation, or storage process.
Step 2. Surface Mounting
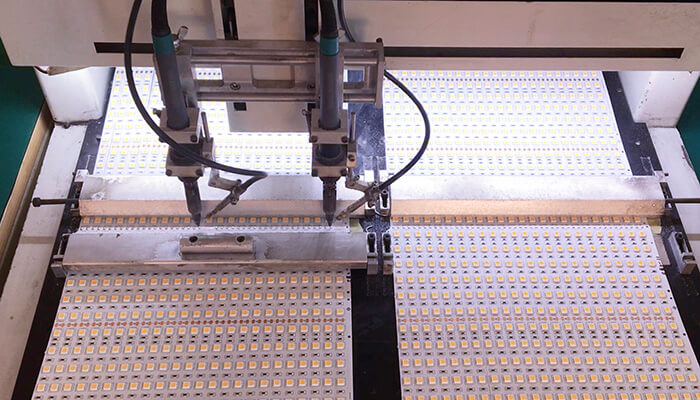
The LEDs are then mounted on double-sided circuit boards. This step requires a printed circuit board stencil to be aligned on the surface of the boards. For applying the solder paste, usually squeegees are used, which ensure controlled application of solder paste on the pads.
After that, a pick and place machine mounts the LEDs onto the boards in their standard positions. This step requires manufacturers to ensure no board movement for preventing any misalignment, as the solder paste remains wet.
Step 3. SMT Reflow Soldering
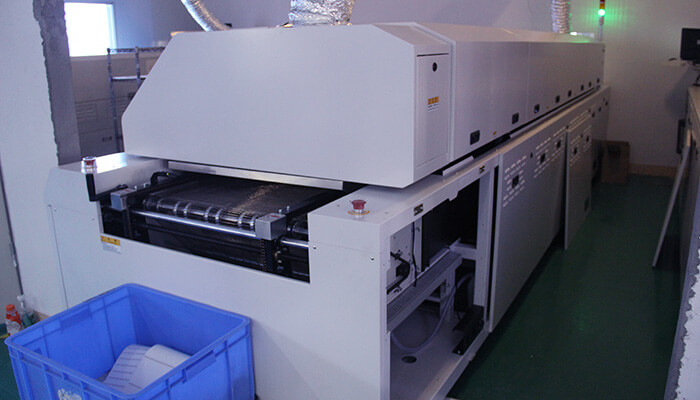
In this step, the LED is permanently attached to the circuit board through heat. After the placement of SMT, the boards will pass into a reflow soldering machine. The machine has different zones to pass. Here is how it works:
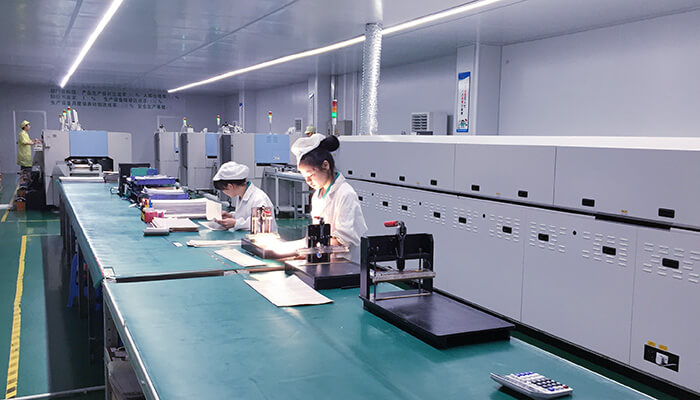
Preheat zone:
In this oven zone, the board’s temperature gradually rises from 1-2℃ per second to 140-160℃.
Soak zone:
In this zone, the boards stay under 140-160℃ for about 60-90 seconds.
Reflow zone:
The boards in this zone undergo a gradual temperature rise of 1-2℃ every second until it reaches 210-230℃. At this temperature, the tin present in the solder paste melts and connects LEDs to the pads on PCBs permanently.
Cooling zone:
To avoid joint defects and cool the board down, the boards undergo the cooling zone with freezing temperatures.
Step 4. Preliminary Product Inspection
The LED ribbon goes through strict product inspection done manually. These visual quality checks ensure no color shifts in the LEDs and no component misalignment in solder bridges.
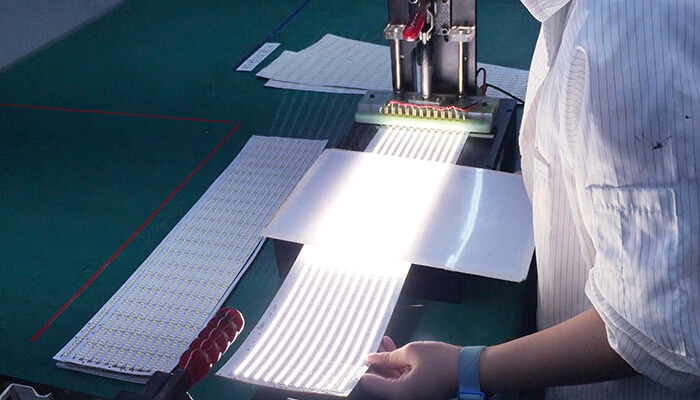
Step 5. PCB Soldering
After inspection, the LED ribbon passes through a soldering machine, which connects 0.5m ribbon to 5m long strips.
5m is our standard reel length, we can make other customize lengths as well, such as 0.6m, 2m, 4m, and so on.
Step 6. Life Testing for semi-finished LED strips
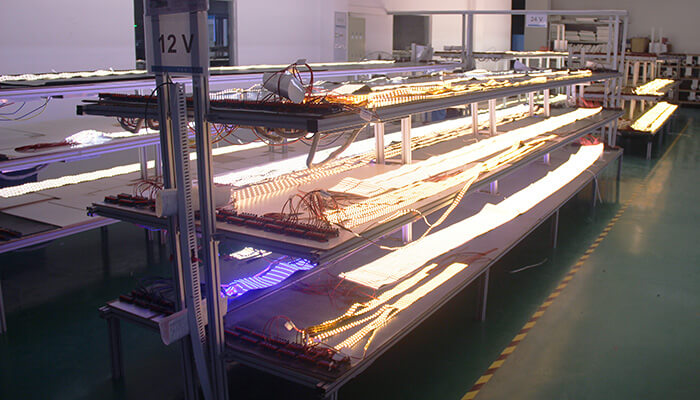
Next, all semi-finished LED lights strips undergo an eight-hour life testing. Life testing guarantees that all LED is in good condition.
Step 7. Waterproofing
Waterproofing the LED ribbon is another crucial step in the manufacturing process. It makes LED strips compatible In a watery humidor environment. Pls check below waterproofing methods:
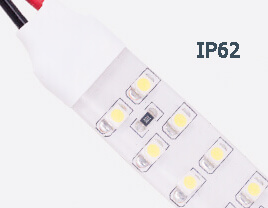
Silicon glue
Adding a layer of silicone glue on top of the strip lights will ensure they are in waterproof grade IP62. Silicon glue strips can work in potentially damp areas such as bathrooms and kitchens. It works fine in temperatures between -50 to 300 degrees. Unlike epoxy resin and PU glue, silicon glue doesn't smell bad or turn yellow over time.
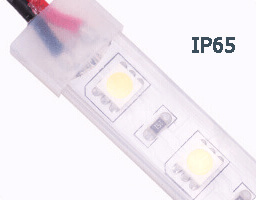
Silicon sleeve
Wrapping a silicone sleeve around LED strip lights will ensure they conform to waterproof grade IP65. Silicone sleeve protects LED strips in damp or outdoor areas with no water immersion.
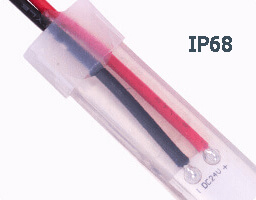
Silicon sleeve with full silicon injection
Seal the silicone sleeve strip with silicone glue injection for compliance with waterproof grade IP68. Silicon sleeve with full silicone injection works best for underwater applications such as swimming pools or docks. It protects the LED lights strips from getting damaged and makes them waterproof.
Step 8. Aging test
All waterproof LED strips will undergo an aging test after adding the waterproofing materials.
An aging test validates the strength of an LED and ensures consumers get the best product.
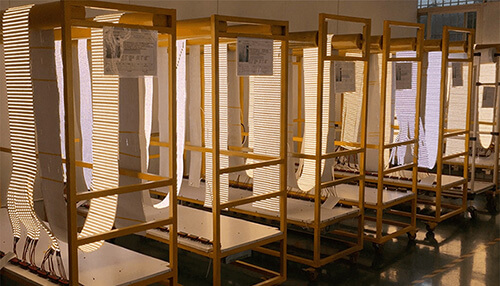
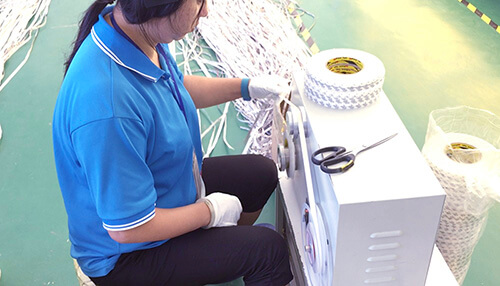
Step 9. Add 3M adhesive tape
The 3M tape on the strip’s backside provides consumers with convenience and ease in installing LED strip lighting.
We use 3M 9080 for all the non-waterproof and waterproof strip, some customers request other 3M adhesive with better stickiness or better thermal conductivity, that’s available as well.
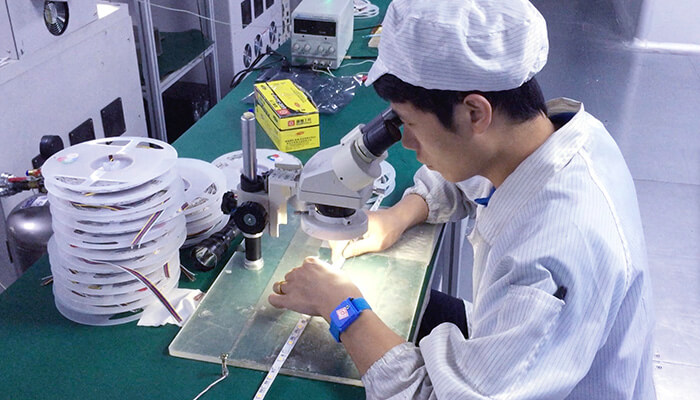
Step 10. Inspection
Our quality-control department will perform a final check on every strip reel to ensure consistent light color as well as good appearance.
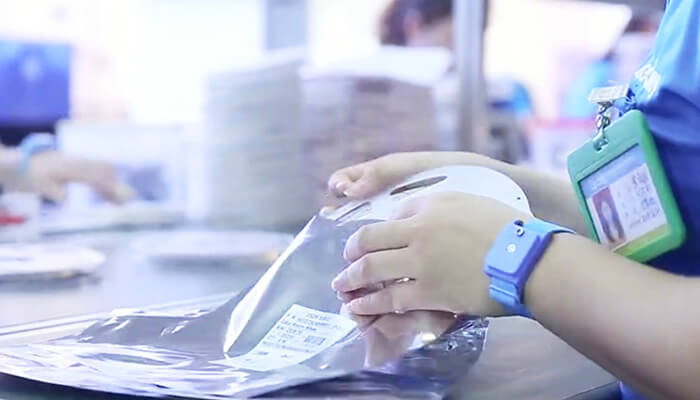
Step 11. Packaging
Now the final product is ready for packaging. The standarder packaging for light strips is reel + anti-static bag. Each bag will attach a corresponding label to indicate the specifications of the light strip. We welcome customer to design their own label.
Conclusion
LED strip lights go through a rigorous manufacturing process, and after several thorough testing procedures, the end consumer can finally get the best quality led strip lights. Before the purchasing, make sure LED strips’ components are of high quality.
We hope this article answers your queries regarding the manufacturing process of LED strip lights and helps you choose the best LED strip light for your lighting projects.
